DIY Crystal Terrarium
We’ve been doing DIYs for ages, so it's shocking to us that we have never made/put together a terrarium! They’ve been floating around DIY blogs and Pinterest for years now, but we never got around to making one...until now.
If you’re not sure what a terrarium is, it is usually a glass container filled with soil and plants, with some sort of opening so you can care for the plants inside. They are mostly a decorative item for the home, we’ve bought our fair share at flea markets!
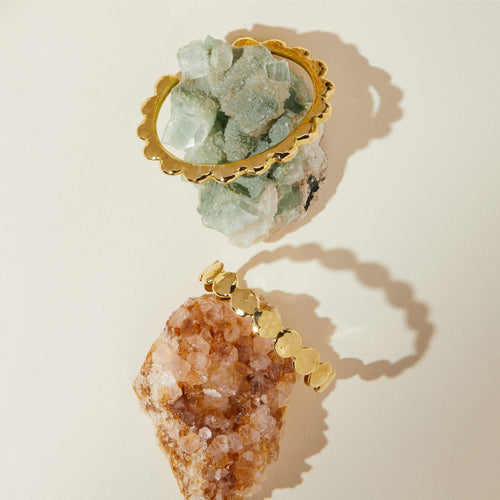
Since terrariums are so universal, you can basically put anything in them along with some form of plants. For ours, we wanted to showcase some of our beautiful raw crystals. Aren’t they STUNNING?! We can’t get over how pretty they all are. They are the perfect addition to any terrarium and we highly suggest you always add crystals to any terrarium you make.

What you'll need
- Medium-sized terrarium
- White or natural colored sand
- White pebbles/rocks
- Air plants (we found ours at Target in the outdoor section!)
Directions
Before starting, turn your terrarium on it’s side so the open side (the top) is facing outward and the “bottom” gold side is now the back
Step 1: Use a measuring cup to scoop ¾ cup of white sand into the bottom of your terrarium

Step 2: Next, place your white rocks on top of the sand so they are 80% covering the surface of the sand

Step 3: Last but not least, place your crystals and air plants on top of the rocks in whichever order looks best to you! Since the terrarium is clear, you will be able to see all of the crystals no matter where you place them (front or in back)

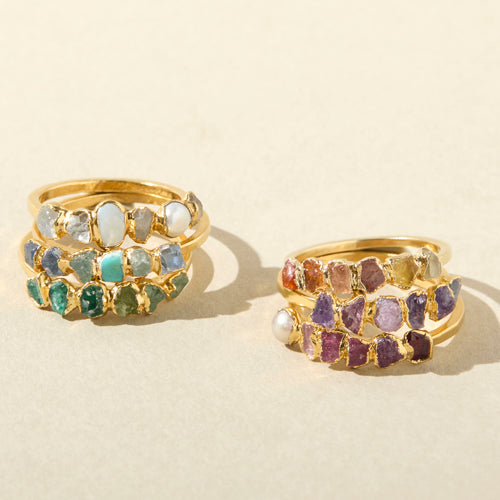
The crystals in the terrarium are our raw stones and are used to create our jewelry pieces!


Leave a comment